


Can a simple cosmetic upgrade to your vehicle’s brake caliper significantly enhance its overall appearance? The answer lies in the process of painting brake calipers, a cost-effective method that not only improves aesthetics but also potentially enhances heat dissipation performance.
When you press the brake pedal of your car, the caliper ensures the vehicle stops on time by squeezing the brake pads against the rotor, creating friction that slows it down.

Painting your vehicle’s calipers requires specific high-temperature resistant products designed to withstand extreme friction conditions, making it a task that demands attention to detail and the right materials.
Key Takeaways
- Painting brake calipers enhances vehicle aesthetics and potentially improves heat dissipation.
- High-temperature resistant products are required for a durable finish.
- Proper preparation and application techniques are crucial for a professional-grade result.
- Following manufacturer specifications ensures optimal adhesion and performance.
- Painted calipers serve as both a functional component and a stylistic enhancement.
Understanding Brake Caliper Function and Aesthetics
Brake calipers play a crucial role in a vehicle’s braking system, and their functionality is closely tied to both performance and aesthetics. The caliper’s primary function is to house the brake pads and piston, which are crucial for slowing or stopping the vehicle.
How Brake Calipers Work
The caliper operates by applying pressure to the brake pads against the rotor, creating the necessary friction to slow or stop the vehicle. This process is hydraulic, meaning that the force applied to the brake pedal is amplified to effectively clamp the brake pads onto the rotor.
Why Painting Enhances Performance and Appearance
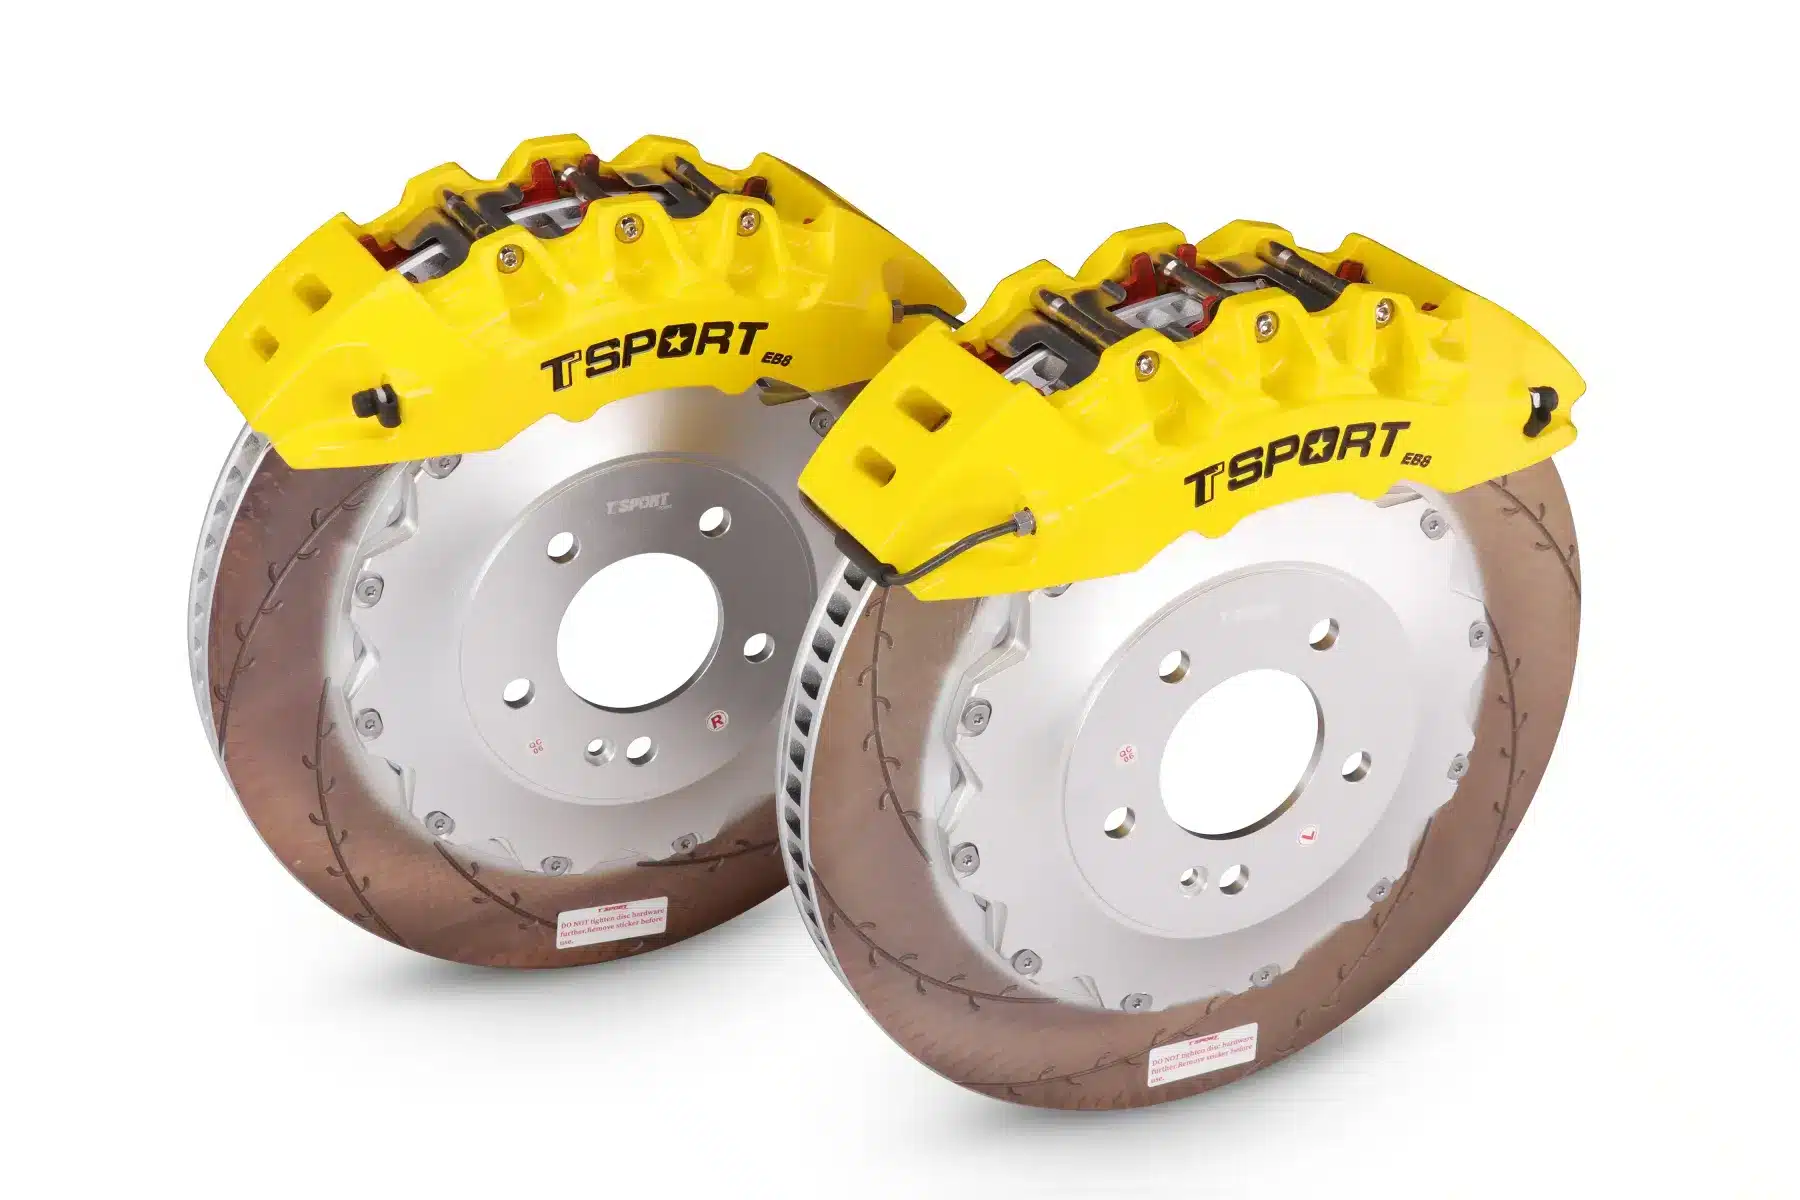
Painting brake calipers serves multiple purposes, including protecting the metal from corrosion and enhancing the visual appeal of the vehicle’s wheel assembly. High-quality brake caliper paint can also improve heat dissipation, potentially extending the lifespan of the braking system.
The benefits of painting brake calipers are twofold. Not only does it enhance the appearance by providing a range of colour options that can complement the vehicle’s styling, but it also offers performance benefits such as reduced heat retention and increased resistance to brake dust accumulation.
| Benefits of Painting Brake Calipers | Description |
|---|---|
| Aesthetic Enhancement | Provides colour options to complement vehicle styling |
| Corrosion Protection | Protects metal components from corrosion |
| Performance Improvement | Reduces heat retention and resists brake dust accumulation |
As noted by industry experts, “A well-maintained braking system, including painted brake calipers, is essential for both safety and performance.”
“The aesthetic appeal of a vehicle is significantly enhanced by the appearance of its brake calipers, making them a popular modification among car enthusiasts.”
Essential Tools and Materials for Perfect Results
Painting brake calipers to a high standard demands the use of suitable tools and high-quality materials. To achieve a professional finish, it’s essential to understand the products and equipment required for the task.

High-Quality Paint Options
Selecting the right paint is crucial for durability and appearance. Specialised brake caliper paint products are available in various finishes, including matte, gloss, and metallic options.
- High-temperature formulations designed for brake calipers ensure durability under extreme conditions.
- Specialised paint products provide a range of aesthetic options to suit different preferences.
Preparation Supplies
Proper preparation is key to a successful paint job. Essential supplies include brake cleaner, degreaser, wire brushes, and sandpaper of various grits.
- Brake cleaner and degreaser are necessary for removing grime and grease.
- Wire brushes and sandpaper help to smooth the surface, ensuring better paint adhesion.
- Masking materials protect surrounding components from overspray.
- Personal protective equipment, such as gloves and masks, to safeguard against paint and chemical exposure.
Preparing Your Vehicle for Brake Caliper Painting
Proper preparation of your vehicle is key to achieving a professional finish on your brake calipers. This process involves several critical steps to ensure a high-quality outcome.
To begin, secure your car on jack stands after loosening the wheel nuts while the vehicle is still on the ground. This safety precaution prevents accidents. Follow the manufacturer’s specifications for torque settings and removal sequence to avoid damaging brake components.
Thoroughly clean the brake caliper surface to remove all brake dust, road grime, and oil residue using appropriate solvents. Degrease the calipers surface to ensure paint adhesion by applying specialised automotive degreasers, followed by complete rinsing.
During preparation, inspect the brake caliper for any parts that may require repair or replacement. Protect surrounding components, including brake pads and rotors, using plastic sheeting and masking tape to prevent contamination during painting.
Professional Brake Caliper Painting Techniques
Achieving a truly professional and long-lasting finish when painting brake calipers demands meticulous attention to detail at every stage, from initial cleaning to the final clear coat. This ensures not only a visually striking result but also a durable coating that withstands the extreme temperatures and harsh conditions brake calipers endure.
Surface Preparation and Masking
The foundation of a successful brake caliper paint job lies in thorough surface preparation. Begin by completely removing the calipers from the vehicle, taking care not to disconnect the brake lines if you are not performing a full brake system bleed afterward. Use a stiff wire brush, a wire wheel drill attachment, and fine-grit sandpaper (e.g., 230-600 grit) to meticulously remove all rust, old paint, brake dust, and grime. Pay particular attention to crevices and rough spots. After mechanical cleaning, thoroughly clean the calipers with a high-quality brake cleaner or a strong degreasing soap and water, ensuring all residue is removed. Some professionals even advocate for using isopropyl alcohol or paint thinner for a final wipe-down to ensure a truly clean surface. Once impeccably clean and dry, precise masking is crucial. Protect vital components such as brake bleeder valves, piston seals, and any rubber or moving parts that should not be painted. Use high-quality painter’s tape and plastic sheeting to shield surrounding areas like brake rotors, pads, and suspension components from overspray. Some even opt to plug orifices with plastic caps or folded tubing to prevent paint from entering the caliper’s internal mechanisms.
Primer Application
Primer application is a non-negotiable step for optimal adhesion and durability, especially on exposed metal. Opt for a high-temperature, self-etching primer specifically designed for automotive use or brake components. Apply primer in thin, even coats, allowing adequate drying time (typically 5-10 minutes) between each application as per the manufacturer’s instructions. While some self-etching paints may claim to eliminate the need for primer, applying 2-3 thin coats of a dedicated primer, or even 3-4 coats on heavily pitted calipers, will create a superior base. If any lumps or imperfections appear after priming, lightly wet-sand them with fine-grit sandpaper (e.g., 500-grit) to achieve a perfectly smooth surface before proceeding.
Paint Application for Durability
Professional paint application techniques prioritize multiple thin coats over a single thick layer to prevent drips, runs, and ensure uniform coverage. Utilize a high-temperature enamel or ceramic-based paint formulated specifically for brake calipers, capable of withstanding temperatures up to 900°F (482°C) or more. Apply 2-4 thin, even coats of your chosen color, allowing sufficient flash-off time (5-15 minutes, or as recommended by the paint manufacturer) between each coat. Spray smoothly and from various angles to achieve maximum coverage. After the final color coat, many professionals apply 2-3 coats of a high-temperature clear coat. This not only enhances the gloss and depth of the color but also provides an additional layer of protection against chips, fading, corrosion, and brake dust, making the calipers easier to clean and maintain in the long run. Finally, allow ample time for the paint to cure completely (at least 24 hours, or up to a week depending on the product) before reinstalling components and driving the vehicle, and consider a controlled heat cycle to “bake” the paint for optimal hardening and adhesion.
| Technique | Description | Benefit |
|---|---|---|
| Surface Preparation | Light sanding and masking | Improved paint adhesion |
| Primer Application | Thin, even coats | Uniform base for painting |
| Paint Application | Multiple thin coats | Durable, uniform finish |
Proper drying time between coats is critical for achieving a durable finish that can withstand extreme temperature variations experienced by vehicle braking systems. A final clear coat application provides additional protection against environmental factors and enhances the visual appearance of the painted brake caliper.
Top Brake Caliper Paint Products for UK Vehicles
For UK vehicle owners, selecting the right brake caliper paint is crucial for both performance and aesthetics, especially given the diverse weather conditions and prevalence of road salt. The market offers various products catering to different needs, but key considerations include temperature resistance and robust corrosion protection. For businesses looking to stock up on quality automotive parts, including a wide range of brake calipers themselves, you can find wholesale options at here:
View Worldinhalls brake calipers range
Explore Worldinhalls’ diverse selection of high-quality brake calipers, perfect for enhancing your vehicle’s performance and aesthetics; we invite you to experience the quality firsthand at our UK local showroom!

View Worldinhalls Automotive Parts range
Discover premium automotive parts designed for performance and reliability, and experience them firsthand by visiting the Worldinhalls showroom—everyone’s invited to stop by and explore!
High-Temperature Formulations
UK drivers, particularly those with performance cars or who engage in spirited driving, should prioritize high-temperature brake caliper paint formulations. Leading manufacturers offer products capable of withstanding temperatures up to 800°C (1472°F) or even higher. Brands like VHT and POR-15 are well-regarded for their heat-resistant properties, with VHT’s paints often rated to 900°F (482°C) intermittent. Some UK-specific brands like Jenolite also offer brake caliper spray paints that are explicitly designed to handle high temperatures and are resistant to petrol, oil, and brake fluid. While general high-temperature paints exist (e.g., Stardust Colors offering paints up to 700°C), ensure the product is specifically formulated for brake calipers, as these undergo unique thermal cycles.
Corrosion-Resistant Options
Given the frequent exposure to rain, moisture, and especially road salt during winter months in the UK, corrosion resistance is paramount. Look for brake paint options that feature advanced polymer technologies, providing a robust protective barrier against these elements. Products like E-TECH Brake Caliper Paint Kits and AndCoat Brake Caliper Paint Kits are popular in the UK market and specifically mention corrosion resistance, often incorporating rust-inhibiting pigments. These paints create a durable, glossy coating that not only enhances appearance but also significantly extends the life of your calipers by preventing rust and pitting. Some even offer a warranty against corrosion when applied correctly, highlighting their effectiveness in the harsh UK climate.
Avoiding Common Brake Caliper Painting Mistakes
A successful brake caliper paint job hinges on understanding and avoiding the most common errors. Painting brake calipers can enhance the appearance and durability of the vehicle’s braking system.
Surface Preparation Errors
Inadequate surface preparation is by far the most frequent mistake, leading to poor adhesion and premature peeling or flaking of the paint. It’s not enough for the surface to simply look clean; it must be microscopically free of contaminants and properly keyed for the paint to bond. This involves a multi-step process:
Masking Perfection: Precise and extensive masking is crucial. Not only should brake bleeder valves and piston seals be covered, but also brake lines, disc rotors, pads, and surrounding suspension components. Overspray on these critical areas can impair braking performance or lead to unsightly blemishes. Consider using plastic sheeting or bin bags for larger areas and high-quality painter’s tape for fine details. Some even suggest plugging orifices with small caps or rolled-up tape to prevent paint from entering the caliper’s internal mechanisms.
Thorough Cleaning: Begin by thoroughly removing all brake dust, grease, dirt, and loose rust. A wire brush, wire wheel, or even a drill attachment with a wire brush is essential for mechanical removal. Follow this with repeated applications of a dedicated brake cleaner or a strong degreasing solution, ensuring all residue is flushed away. Some professionals even use isopropyl alcohol for a final wipe.
Rust Removal: Any existing rust must be completely eradicated. Rust converter products might seem appealing, but for optimal paint adhesion, physical removal of rust (sanding, wire brushing) is preferred.
Sanding/Keying: Even on seemingly clean surfaces, light sanding with fine-grit sandpaper (e.g., 230-600 grit) creates a “key” or textured surface, providing microscopic anchor points for the primer and paint. Without this, the paint will sit on a smooth, non-porous surface and eventually lift.
Application and Drying Issues
The application process and subsequent drying/curing are equally critical. Overlooking these aspects can lead to a compromised finish that is prone to bubbling, running, or a lack of durability.
Curing Time: The paint may feel dry to the touch within a few hours, but it needs significantly more time to fully cure and achieve maximum hardness and heat resistance. Rushing the curing process by driving the vehicle too soon can lead to chipping, scratching, or even paint failure under braking heat. Most manufacturers recommend a minimum of 24-48 hours before driving, with optimal hardness achieved after several days or even a week. Some suggest a gentle, controlled drive after initial drying to help “bake” the paint with gradual heat, but aggressive braking should be avoided during this period. For two-part paints, adhering strictly to mixing ratios and pot life is vital, as deviation can lead to improper curing.
Environmental Conditions: Applying paint in improper environmental conditions, such as high humidity, direct sunlight, or extreme temperatures (either too hot or too cold), can severely compromise the final finish quality. Always consult the paint manufacturer’s recommendations for ideal application temperatures and humidity levels. High humidity can lead to blushing or a hazy finish, while extreme temperatures can affect drying times and paint flow.
Thin, Even Coats: A common misconception is that a thick single coat provides better coverage. In reality, applying multiple thin, even coats (typically 2-4) is essential. This prevents drips, runs, and ensures uniform coverage without sacrificing durability. Each coat should be allowed to flash off or dry to the touch according to the manufacturer’s instructions before applying the next. Patience during this stage is key.
| Common Mistakes | Consequences | Prevention |
|---|---|---|
| Inadequate surface preparation | Poor adhesion, peeling | Thorough cleaning and degreasing |
| Incorrect paint thickness | Running, bubbling, insufficient coverage | Following manufacturer’s guidelines for application |
| Rushing drying process | Weakness in paint structure | Allowing adequate drying time between coats |
By understanding these common mistakes and taking steps to avoid them, individuals can achieve a professional-looking finish on their vehicle’s brake caliper. Proper preparation and attention to detail are key to a successful paint job.

Maintaining Your Newly Painted Brake Calipers
Maintaining the aesthetic and protective qualities of painted brake calipers requires a systematic approach. Regular maintenance not only extends their aesthetic appeal but also enhances their protective properties.
Cleaning Products and Methods
Use specialised wheel cleaning products that are safe for painted surfaces. Gentle cleaning methods with soft brushes prevent scratching the painted caliper surface while effectively removing brake dust.
Long-Term Protection Strategies
Periodic inspection for signs of heat damage or chipping allows for prompt touch-up before corrosion affects the underlying metal. Protective sealants designed for high-temperature applications provide additional durability, particularly on daily-driven vehicles.
Signs You Need New Brake Calipers Instead of Paint

Brake caliper painting is a cost-effective solution, but certain indicators suggest the need for new brake calipers. Vehicle owners should be aware of these signs to ensure their safety on the road.
Identifying Brake Caliper Failure
Critical signs of brake caliper failure include fluid leaks, uneven brake pad wear, and the vehicle pulling to one side during braking. These issues indicate potential problems that painting cannot resolve.
When to Replace Rather Than Refurbish
Structural damage, such as cracks or severe corrosion, necessitates replacement. Additionally, sticking pistons or seized sliding mechanisms in rear left or rear right calipers signify internal wear that requires replacement rather than cosmetic refurbishment.
Other indicators include abnormal noises during braking, such as grinding or squealing, and brake pedal feedback problems like sponginess or excessive travel. These issues often signal hydraulic problems within the caliper assembly.
FAQ
What is the average thickness of a disc?
The average thickness of a disc varies depending on the vehicle and type of brakes. Typically, a new disc is around 28mm thick, but this can differ. It’s essential to check the manufacturer’s specifications for the correct thickness.
How do I know if my vehicle’s brake disc is corroded?
Corrosion on the disc can be identified by visible rust or flaking metal. If you notice any unusual noises or vibrations when applying the brakes, it may also indicate corrosion. Regular inspections can help detect corrosion early.
What are the benefits of using high-quality parts for my vehicle’s braking system?
Using high-quality parts ensures optimal performance and safety. These parts are designed to withstand the rigors of regular use and provide consistent braking power.
Can I purchase calipers in bulk for wholesale purposes?
Yes, our company offers wholesale opportunities for bulk purchases of calipers and other braking system components. Contact our sales team for more information on pricing and availability.
How often should I inspect my vehicle’s braking system parts?
Regular inspections are crucial to maintaining your vehicle’s braking system. We recommend checking the condition of your brakes every 10,000 miles or as specified by the manufacturer.
What are the signs of worn-out brake components?
Signs of worn-out components include unusual noises, vibrations, or reduced braking performance. If you notice any of these symptoms, it’s essential to have your brakes inspected by a professional.
Are your products designed to withstand harsh conditions?
Yes, our products are designed to withstand various environmental conditions, including extreme temperatures and corrosion. We use high-quality materials and manufacturing processes to ensure durability.